


best value screen protector iPhone 17
Alright, you’ve snagged what you hope is the **best value screen protector iPhone 17** has to offer. High five! But now comes the moment of truth: the installation. We’ve all been there. That moment of panic as you peel off the protective film, praying for a flawless finish, only to find a rogue dust bunny or a crooked alignment mocking your efforts. It doesn’t have to be this way. With a few simple steps and a bit of patience, you can achieve a bubble-free, perfectly aligned protector that looks like it came straight from the factory. Let’s turn that potential frustration into a win.
Key Takeaways
- Start your screen protector installation in a dust-free room to prevent those sneaky particles from ruining the alignment.
- Use the included cleaning cloth and adhesive stickers to remove every speck of dust before you peel the final film.
- Line up the protector with the phone’s edges and speaker cutout before letting it touch the glass to avoid a crooked placement.
- Press gently from the center outward using a microfiber cloth or squeegee to push bubbles to the edge without cracking the glass.
Prepping Your Screen: Dust Is the Enemy
Before you even think about peeling off that first layer, let's talk about your battleground: your iPhone 17's screen. This is where the magic (or mayhem) happens. The biggest culprit for installation failure isn't a shaky hand; it's microscopic dust particles. They're the tiny terrorists that hide under your protector, creating those annoying air bubbles and bumps you just can't get rid of. So, preparation is key.
Start by washing your hands thoroughly to remove any oils or dirt. Then, find a clean, dust-free environment. A bathroom after a steamy shower can actually be your friend here. The steam settles airborne dust. Grab the cleaning supplies that came with your protector. Typically, this includes a microfiber cloth and an alcohol wipe. Give your phone screen a good wipe-down with the alcohol wipe first to remove any smudges or fingerprints. Immediately follow up with the microfiber cloth, buffing gently in a circular motion until the screen is spotless and completely dry. Take your time; this step is non-negotiable for a smooth finish.
Next up is the dust removal sticker, often a sticky tab. This is your secret weapon against those sneaky particles. Gently dab the screen with the dust sticker, paying close attention to the edges. Don't swipe; dab. Imagine you're trying to lift the dust, not push it around. Hold your phone at an angle to the light to spot any remaining specks. It might seem tedious, but trust us, this attention to detail is what separates a professional-looking install from a "well, it's protected" job. A clean screen means a clear view and a protector that adheres perfectly, ensuring you get the full benefit of your chosen **best value screen protector iPhone 17**.
Aligning Like a Boss: Using the Frame or Hinge Tool
Okay, the screen is pristine. Now for the alignment. This is where many people start to sweat. If your screen protector came with an alignment frame or hinge stickers, consider yourself lucky. These tools are designed specifically to guide you to perfect placement, taking the guesswork out of the equation. If you have a frame, simply place it over your phone, ensuring it sits flush and secure. Then, peel the backing off your screen protector and carefully lower it into the frame. The frame will hold it in the exact correct position. The hinge sticker method involves attaching small stickers to the protector and your phone to create a hinge, allowing you to lift and reseal until you're sure of the placement. These gadgets are game-changers, especially if you’re installing on a newer phone model like the iPhone 17, where precise alignment is key to avoiding interference with sensors or camera cutouts. They make achieving that factory-perfect look surprisingly simple, especially when paired with a MagSafe-compatible case.
Pro Tip: Don't rush the alignment. Even with a tool, take a moment to visually confirm the protector lines up with the earpiece, camera, and home button (if applicable) before committing. A few extra seconds here saves you from peeling and re-sticking, which almost always introduces more dust.
If your protector didn't come with an alignment tool, don't despair. You can still achieve great results by carefully lining up the protector yourself. Start by aligning one edge, usually the top edge with the earpiece and front camera cutout. Once that edge is perfectly placed, slowly lower the rest of the protector onto the screen. You can use the edge of the microfiber cloth to gently guide it down, helping to push out any immediate air bubbles as you go. The goal is to get it as close as possible on the first try. Remember, the less you have to reposition, the better your chances of a dust-free, seamless application. Proper alignment ensures that all features of your phone, from the touch sensitivity to the facial recognition, function without a hitch.
Squeegee Technique: Gentle Pressure, Smooth Results
You've peeled the final backing and the protector is on the screen. Now, the moment of truth for those tiny bubbles. Most screen protectors come with a small plastic squeegee or a firm card (like a credit card, though the provided one is usually better). Start from the center of the screen and gently push outwards towards the nearest edge. Use firm, consistent pressure, but don't go crazy. You're not trying to warp the protector; you're just guiding the trapped air out. Work your way across the screen, squeegeeing in one direction, then repeat from the center to the opposite edge. If you encounter a stubborn bubble, try lifting the edge of the protector *slightly* (just enough to break the seal at the bubble) and then re-squeegee from that spot outwards. This often helps the air escape.
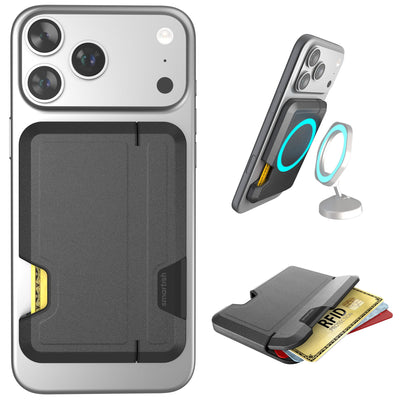
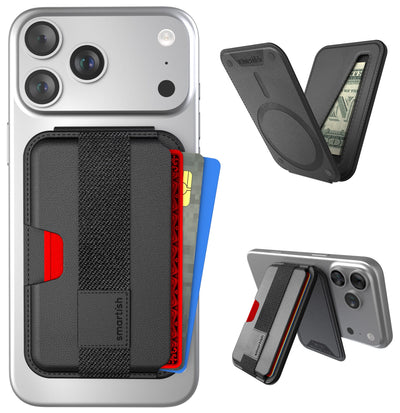
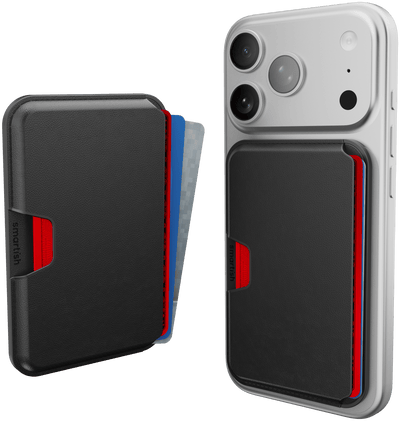
For those microscopic bubbles that refuse to budge, don't panic. Often, they'll disappear on their own within 24-48 hours as the adhesive settles. If a bubble persists and is truly bothersome, it might indicate a speck of dust underneath or an imperfect seal. In such cases, carefully lift the protector from the edge nearest the bubble, remove any visible dust with the dust sticker, and reapply, squeegeeing from the center outwards. It’s a process that requires a steady hand and a bit of finesse. For those who prioritize hassle-free protection and are always on the go, consider Smartish cases for your iPhone 17. While a case offers fantastic phone protection and convenience, pairing it with a well-installed screen protector ensures your device is fully covered from all angles. It’s all about smart protection for your everyday adventures. Pair it with a MagSafe wallet accessory for complete coverage.
Once you've squeegeed all visible air out, do one final check. Look at the screen from different angles under good light. Any remaining tiny bubbles will likely vanish. If you find a persistent issue that can't be resolved, don't hesitate to use the warranty if your protector came with one. Remember, the goal is a clear, responsive screen that feels as good as new. Smartish understands that protecting your most-used device shouldn't be complicated. That's why we design accessories that are both functional and straightforward, from our cases to our commitment to helping you keep your phone in top shape. Finding that ideal **best value screen protector iPhone 17** means getting peace of mind without the fuss.
For more tips on keeping your device powered and protected, check out our guide on iPhone 17 charging essentials.
References
Frequently Asked Questions
What makes a best value screen protector for iPhone 17?
A best value screen protector for iPhone 17 balances strong scratch protection with easy installation. Look for tempered glass with an oleophobic coating to resist fingerprints. Most importantly, choose one that includes an alignment frame to make bubble-free setup simple.
How do I install an iPhone 17 screen protector without bubbles?
To install an iPhone 17 screen protector without bubbles, start by cleaning your screen in a dust-free space like a steamy bathroom. Use the included alcohol wipe and microfiber cloth, then dab with the dust removal sticker. Finally, use the alignment frame to lower the protector perfectly.
Is it worth getting a screen protector for iPhone 17?
Yes, getting a screen protector for iPhone 17 is worth it because the display is expensive to repair. A good protector guards against scratches from keys and pocket debris. Even a basic tempered glass shield can save you from costly screen damage.
What tools help with screen protector alignment?
Alignment frames and hinge stickers are the best tools for screen protector alignment. A frame snaps onto your phone and guides the protector into the exact position. Hinge stickers let you lift and reseal until you get the placement right, which is a game changer.
How do I remove dust before applying a screen protector?
To remove dust before applying a screen protector, use the dust removal sticker that comes with your kit. Gently dab the screen rather than swiping to pick up particles. Hold the phone at an angle to catch any leftovers you might have missed.
What is the toughest iPhone 17 screen protector?
The toughest iPhone 17 screen protectors use tempered glass rated at 9H hardness on the pencil scale. Some also add extra layers like anti-shatter film. The best value options combine this hardness with an easy installation system so you don't have to sacrifice peace of mind for convenience.